This workflow will show you how to generate target files of coherent anthropometric dimensions by using the Anthropo Module and use them to scale a Human Body Model.
Create target file
Set up the anthropometry module
Generate a new regression file
To generate some target files, you will first need to generate a regression file (if you already have a regression file, you can load it by clicking on "Existing regression" in the "Generate target from" subsection).
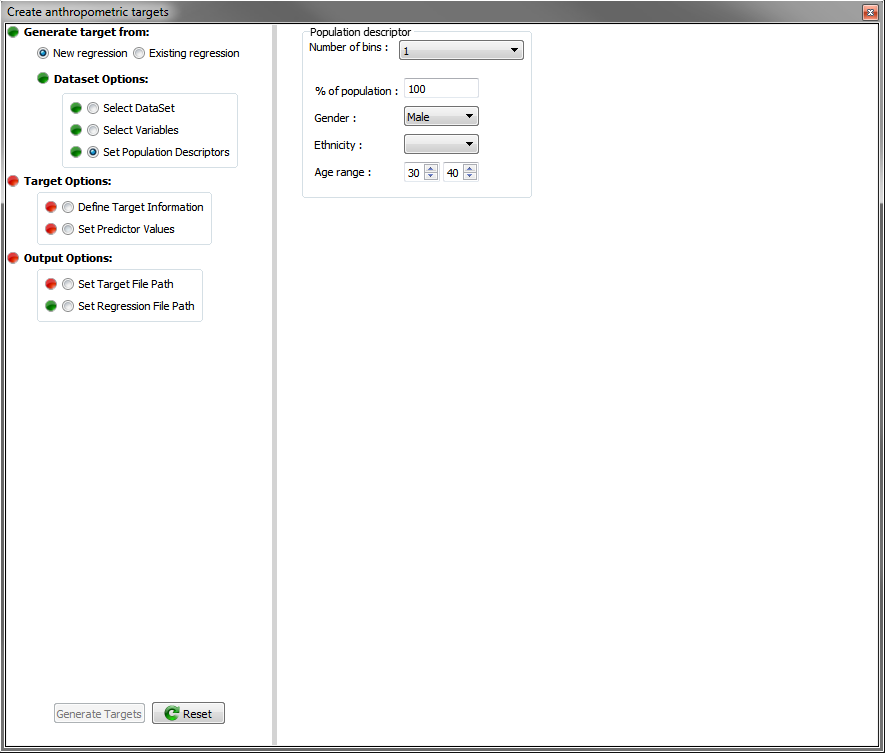
- Click on "New regression". A new subsection will appear: "DatasetOptions".
- Click on "Select Dataset" button, and then select the "Adult Dataset(ANSUR)"
- Now we select the predictors we want our regression file to be based upon. For this example, select "STATURE" and "CALF_CIRC".
- Then click one the "Set Population Descriptors" subsection, select one bin, representing 100% of the population, with the gender as "male", and set the age from 30 to 40 years.
Input data in the GUI
Define samples information
Now it is time to define the target values for the anthropometric measurements that we have chosen.
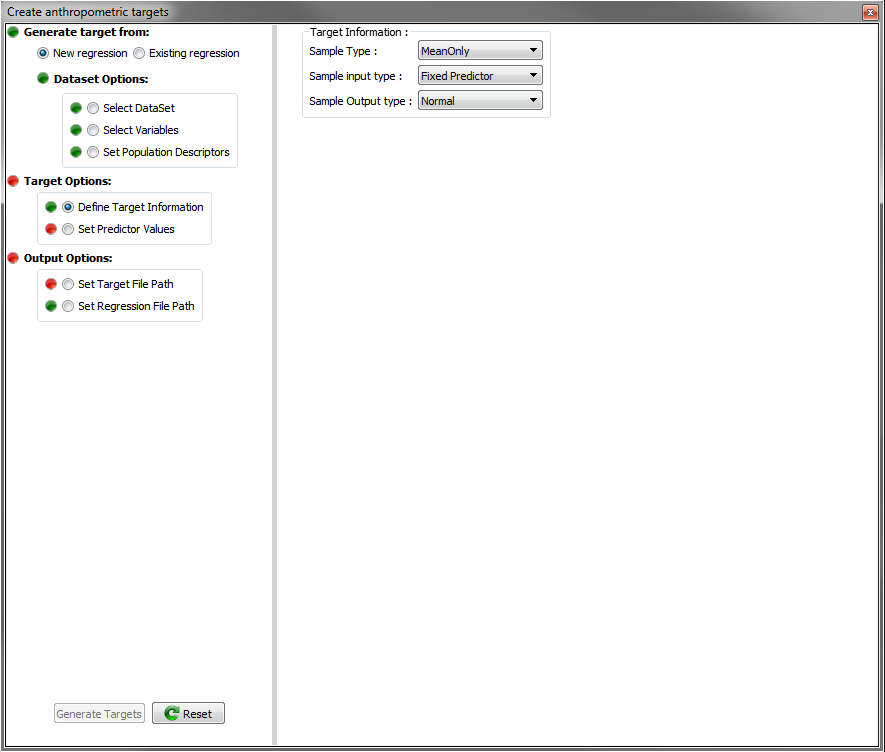
- Click on "Define target information" subsection.
- Select a "sample type" - choose "MeanOnly".
- Select a "sample input type" - choose "Fixed predictor". A new subsection called "Set Predictor Values" appears, that will allow you to set values for the previously selected predictors.
- Leave "sample output type" as "Normal".
Input data in the GUI
- In the "Set Predictor Values" subsection, set the values for "STATURE" to 1890 and "CALF_CIRC" to 380. (the unit for any length or circumference on the GHBM model are milimeters. The original values of the GHBM is 1790 mm for stature and 354 mm for calf cirumference).
Define output information
In this section we will define paths for the target output file, and the regression file if wanted.
- Click on "Set Target File path", and define the location you want to save the target file in, in the right menu.
- By defaut, the regression file are save in the Piper temporary folder. That's why, if you click on "Set Regression File Path", you will see the "No" selected by default under the question "Save Regression ?" question. If you want to save the regression in a particular location, choose "Yes" and define the desired path for the regression path.
Generate files
Once your regression and sample information is defined, all the trafic lights should be green, and now you can click on the "Generate Targets" button. It will create the target file in the specified directory. Once you have generated some target files with the anthropometry module, you are able to use them across piper modules to personalize your model.
Personalize the model
You can use the Scaling Constraint Module to link the set of anthropometric targets to the HBM through a Simplified Scalable Model. An example of Simplified Scalable Model designed for anthropometric dimensions defined in ANSUR database can be found here
Import Simplified Scalable Model
- Open the model, either through an existing PIPER project or by importing a new one.(see Project menu).
- Import the target file you generated in the Define samples information step using the Target menu.
- Click on the "Anthropo. Model" button and then on "Import Anthropo. Model." and select xml file with the description of the Simplified Scalable Model for ANSUR. (ANSUR_AnthropoModel.xml if you use the one we have download from the link above.)
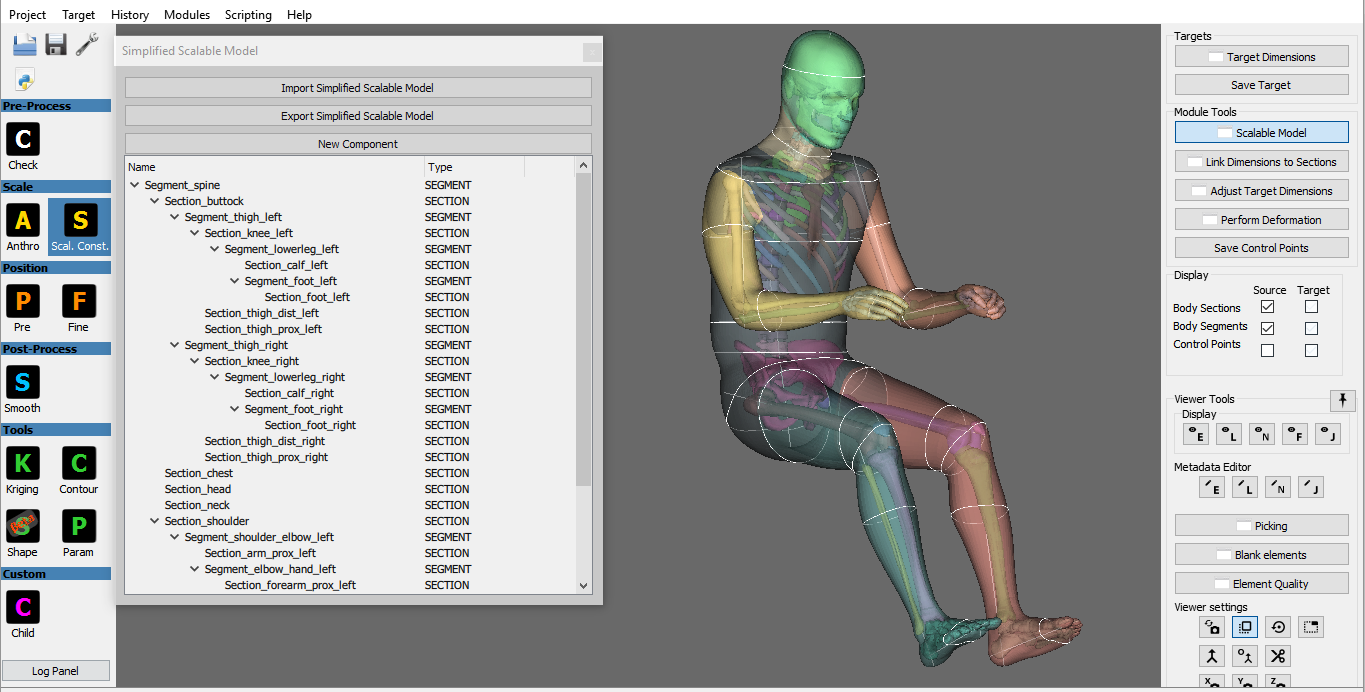
Import Simplified Scalable Model.
Apply targets
- Click on the "Target Dimensions" button and then on "Use current targets". You should see something similar to Figure Source and target visualization - the simplified scalable model and associated control points are visualized in white color, the target in blue.
- You can edit target values (double click on last column of the table after clicking on the "Adjust Target Dimensions" button)
- To visualize a preview of bone and/or skin deformed shape, click on "Perform Deformation" button and select option to display intermediate skin (or bone) target. (Source and target visualization with preview)
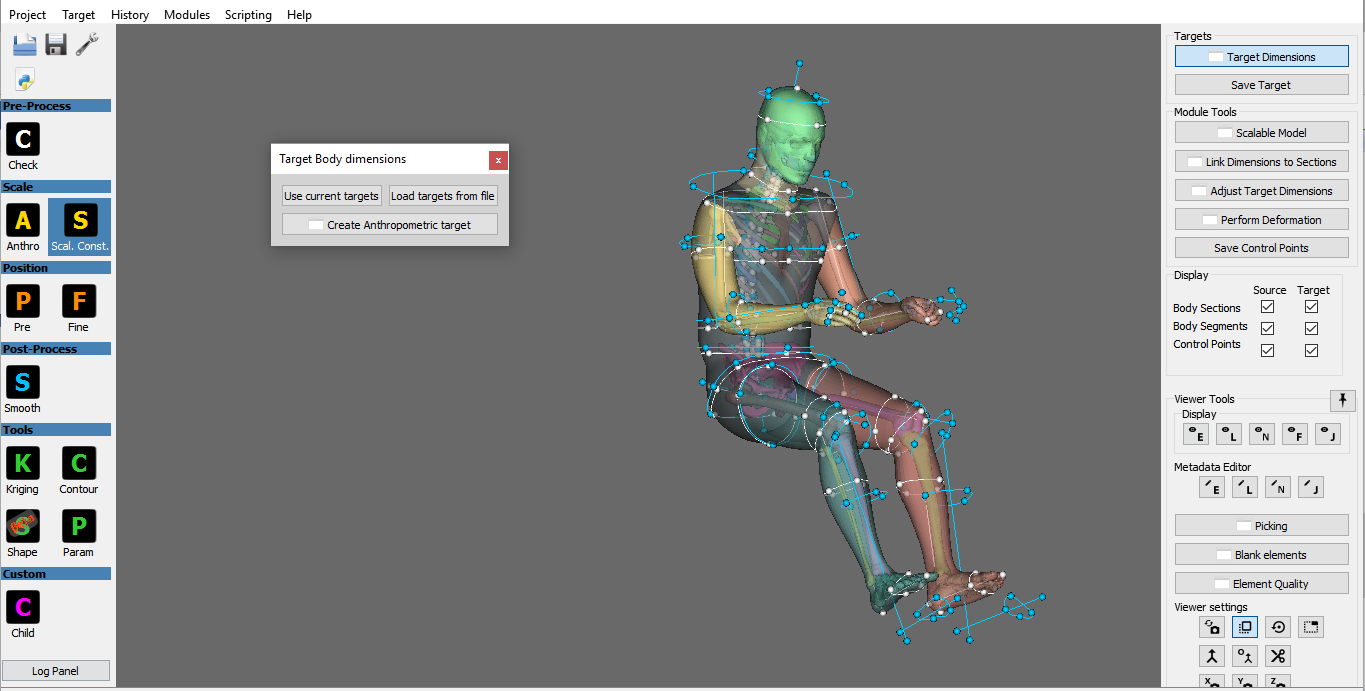
Source and target visualization
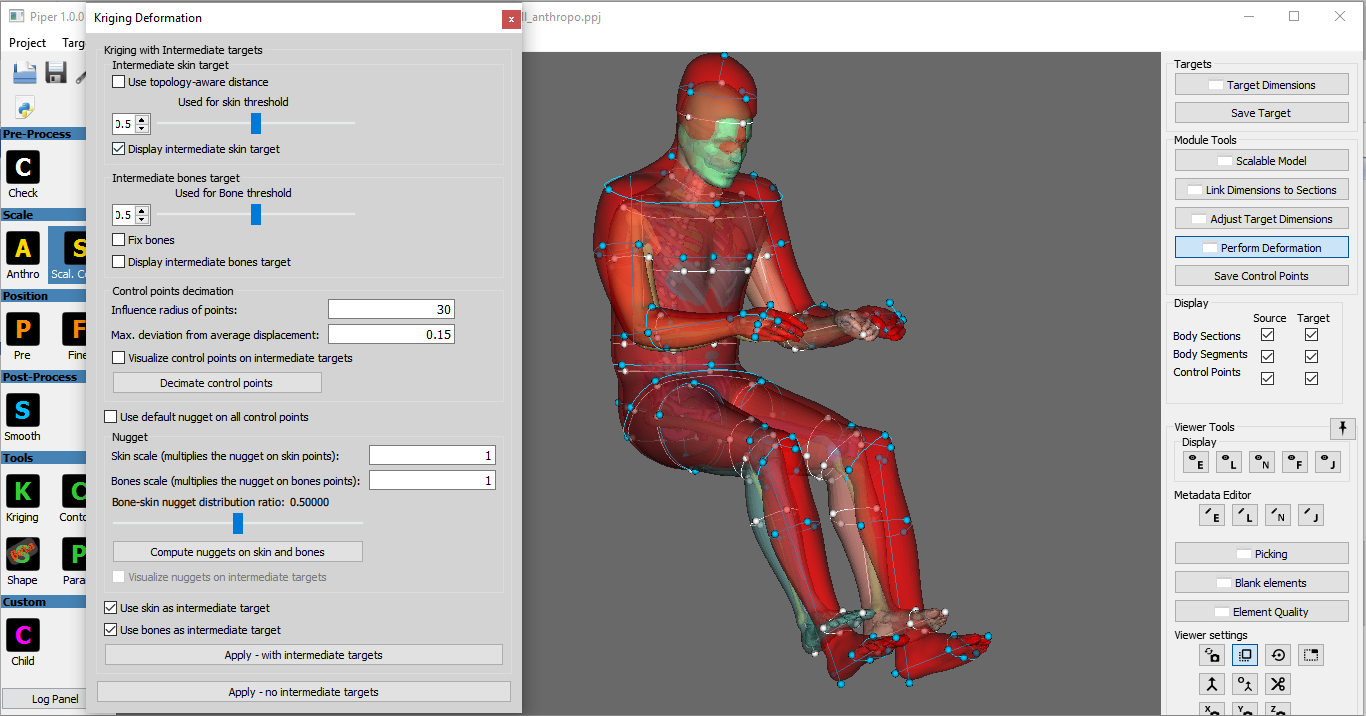
Source and target visualization with preview
 1.8.10
